Image source: YouTube
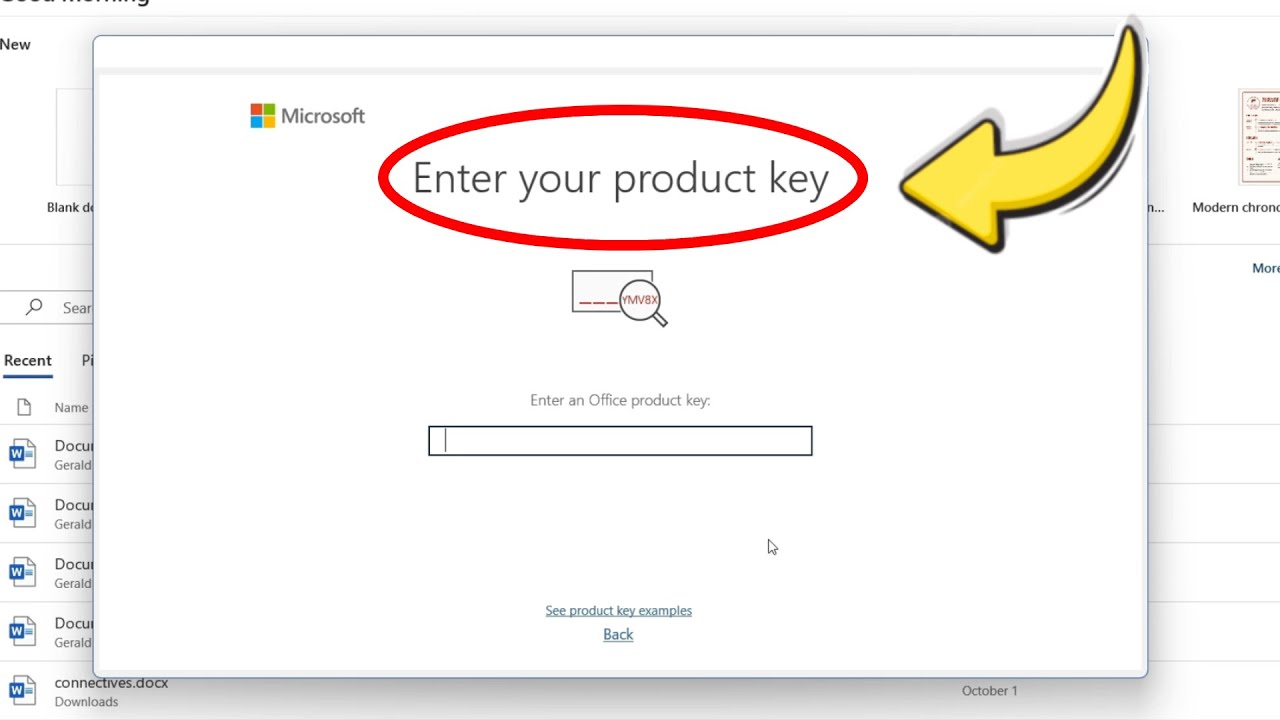
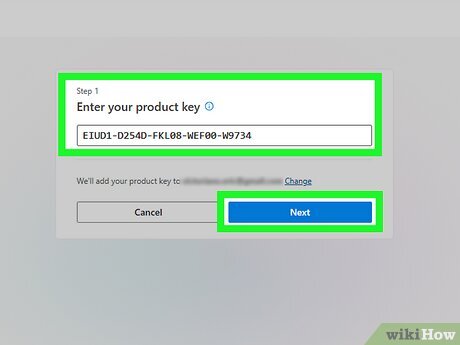
If you just purchased a new copy of Microsoft Office or Microsoft 365, you do not enter the key directly into the software. Instead, open a web browser and navigate to office.com/setup. Sign in with your Microsoft Account, enter your 25-character product key, and follow the prompts to link the license to your account.
If you already have the software installed and need to change an existing key, open any Office application (like Word), click File, select Account, and click the Change Product Key link located under the product information section.
Navigating the Microsoft Office activation process can often feel more complicated than it needs to be. Whether you have purchased a physical retail card from a big-box store, received a digital code via email, or bought a new computer with the software pre-installed, understanding exactly where and how to enter your Microsoft Office product key is the critical first step to accessing your applications.
However, the activation ecosystem has evolved significantly. The traditional method of typing a 25-character string into a prompt window is slowly being phased out in favor of "Digital Entitlements" linked directly to your Microsoft Account. This shift, while designed to make reinstallation easier, frequently results in confusing activation loops, conflicting license errors, and frustrating roadblocks for users.
This comprehensive guide will walk you through the exact steps for entering your product key across various scenarios, how to change a key within the application interface, and most importantly, how to utilize advanced diagnostic tools—like the Office Software Protection Platform script—to forcefully resolve stubborn activation errors that standard Microsoft documentation often overlooks.
If you are holding a brand-new product key—typically formatted as XXXXX-XXXXX-XXXXX-XXXXX-XXXXX—your first instinct might be to download Word or Excel and look for a place to type it in. For modern versions of Office, this is the wrong approach. The key must first be redeemed and permanently attached to your Microsoft Account via a web portal.
For the vast majority of consumer purchases, including Microsoft 365 Personal, Microsoft 365 Family, Office Home & Student 2021, and Office Home 2024, the redemption process takes place entirely online. According to official Microsoft Support documentation, you must use the dedicated setup portal to validate your purchase.
Follow these precise steps to redeem your new key:
If you recently purchased a new Windows computer that advertised "Microsoft Office Included" or "1 Year of Microsoft 365 Included," you will likely search the packaging in vain for a physical product key sticker. Modern hardware manufacturers utilize a system called Digital Entitlement, where the license is embedded directly into the device's motherboard or Windows registry.
To claim this type of keyless license, you must activate it from within the pre-installed software:
If you are prompted for a key on a new PC and do not see the "Claim" button, ensure Windows is fully updated and that you are connected to the internet, as the system must ping Microsoft's activation servers to verify the hardware ID.
Corporate environments and specialized discount programs utilize different activation pathways. If you try to enter a business key into the standard consumer portal, you will receive an "Invalid Key" error.
For Business Standard or Premium: If your organization provided you with a retail business key, you must navigate to a specific administrative portal: signup.microsoft.com/get-started/setupkey. This portal is designed to link the license to an Azure Active Directory (Entra ID) tenant rather than a personal Outlook or Xbox account.
For the Workplace Discount Program (formerly HUP): If you purchased Office at a steep discount through your employer's benefits program, you generally do not use a web portal at all. Instead, download the software using the link provided in your purchase confirmation email. When you launch Word for the first time, a sign-in screen will appear. Look for a small link at the bottom that says "I don't want to sign in or create an account" or "Enter a product key instead." Click this link and enter your 25-character WDP key directly into the application.
There are several scenarios where you might need to change the product key on a computer that already has Office installed. Perhaps you are upgrading from Office 2019 to Office 2024, or maybe your company is transitioning you from a personal Microsoft 365 subscription to an enterprise volume license. Rather than uninstalling and reinstalling the entire suite, you can often swap the key directly within the software's interface.
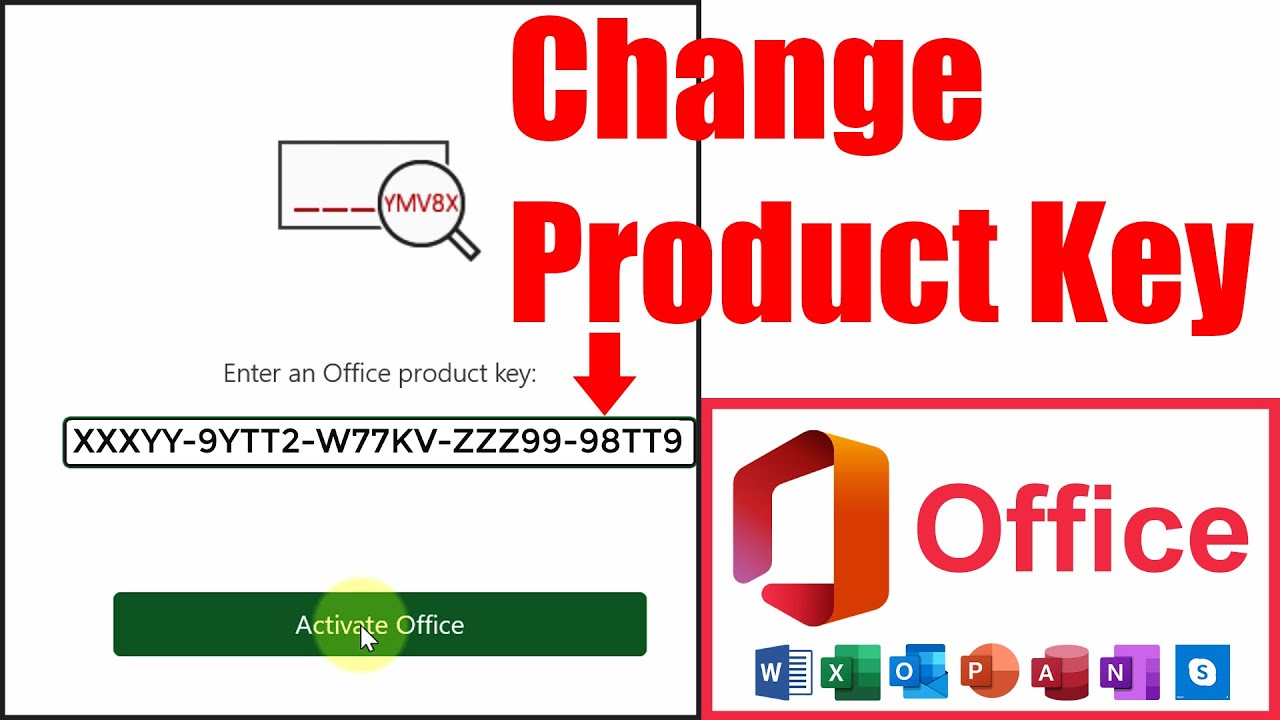
Microsoft has centralized license management within the "Account" backstage view of all its primary desktop applications. To change your key on a Windows machine, follow this procedure:
A common pitfall occurs when users attempt to switch between a subscription model (Microsoft 365) and a perpetual, lifetime license (such as Office Home & Business 2024). Because these two products utilize entirely different update channels and feature sets, simply typing a new key into the "Change Product Key" box will frequently fail or result in software instability.
If you are moving from Microsoft 365 to a perpetual version, the software must downgrade its feature set (removing cloud-exclusive features like Copilot integration or advanced premium templates). Conversely, moving from a perpetual version to 365 requires the software to download new feature modules. In these specific crossover scenarios, it is highly recommended to completely uninstall the current version via the Windows Control Panel, restart your computer, and install the new version fresh from your Microsoft Account dashboard.
One of the most infuriating issues users face is the "Activation Loop." You enter your product key, the software displays a green checkmark and says "Activation Successful," but the very next time you open Word, a yellow banner appears at the top of the screen demanding that you activate the software again. This loop indicates a severe conflict within the Windows registry or the Office Software Protection Platform.
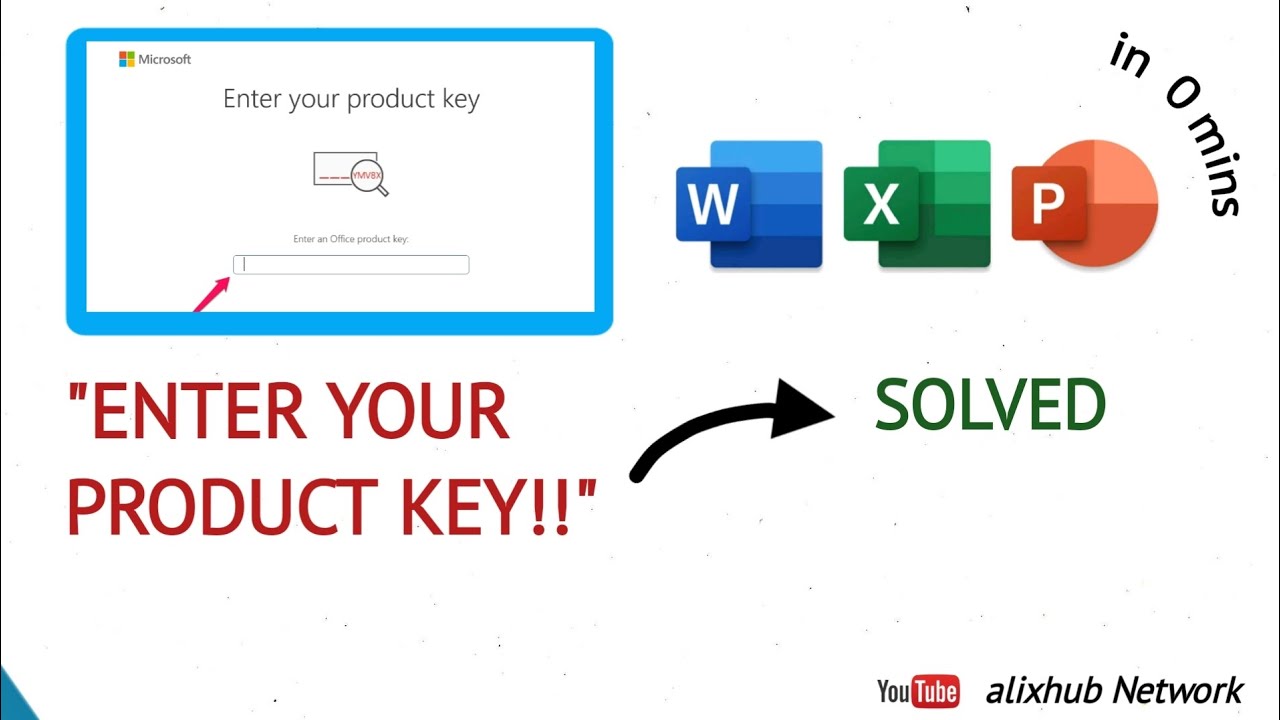
The activation loop is almost always caused by "ghost" licenses. When you install a new version of Office, the old license tokens (often from pre-installed factory trials or expired Microsoft 365 subscriptions) are not always cleanly removed. When the software launches, it detects the expired trial token first, assumes the software is unlicensed, and throws an error—completely ignoring the valid product key you just entered.
This is frequently accompanied by Error Code 0x4004F00C, which designates a "Grace Period" conflict. The system believes it is in a trial grace period that has expired, overriding your paid activation state.
To fix this, you cannot rely on the standard graphical interface. You must use a command-line script built into the software to manually strip out the conflicting ghost licenses.
Microsoft includes a powerful diagnostic script called ospp.vbs (Office Software Protection Platform Visual Basic Script) in every Windows installation of Office. This tool allows you to view exactly which keys the system is trying to use and forcefully delete the broken ones.
Follow these advanced troubleshooting steps carefully:
After completing these steps, close the Command Prompt and open Word. The activation loop should be permanently broken, and the yellow warning banner will be gone.
While Windows users battle registry conflicts, Mac users face their own unique set of activation headaches. macOS handles software licensing through hidden property list (.plist) files stored deep within the user Library. If these files become corrupted, Office for Mac will repeatedly ask you to sign in or enter a key, only to immediately forget your credentials upon restarting the app.
A common misconception among Mac users is that dragging the Microsoft Word application to the Trash and reinstalling it will fix activation issues. It will not. Uninstalling the application leaves the hidden, corrupted license files intact on your hard drive. When you reinstall, the new app simply reads the old, broken license data.
To resolve this, you must use a specialized utility provided by Microsoft, which is frequently recommended by experts on the Microsoft Answers community forums.
.pkg file from the Microsoft Support website..plist files, keychain entries, and licensing tokens from your Library folder.If you do not want to use the License Removal Tool, you can attempt a softer reset. Occasionally, the activation token simply needs to be refreshed with Microsoft's servers. Open Word, click the Word menu in the top Apple menu bar, and select Sign Out. Repeat this process for Excel and PowerPoint. Once signed out of all apps, restart your Mac, open Word, and sign back in. This forces the application to request a new authentication token from the server, which can sometimes bypass minor activation glitches.
As you navigate the activation process, it is vital to understand the fundamental shift in how Microsoft handles software ownership. The era of keeping a physical card with a 25-character code in your desk drawer is largely over. Today, the industry operates on a model of Digital Entitlement.
When you purchase a physical product key from a retailer like Best Buy or Amazon, that key is essentially a one-time-use gift card. Its only purpose is to prove to the office.com/setup portal that you paid for the software. Once you enter the key and click confirm, the 25-character string becomes entirely useless. If you lose the card the next day, it does not matter. Your license is now a Digital Entitlement permanently bound to your email address.
This is why, if your computer crashes and you need to reinstall Office, you should never try to re-enter your original product key. The system will reject it and state that the key has already been used. Instead, you simply log into your Microsoft Account dashboard, navigate to the "Services & Subscriptions" tab, and click the download button.
| Feature | Physical / Retail Product Key | Digital Entitlement |
|---|---|---|
| Format | 25-character alphanumeric string (XXXXX-XXXXX...) | Linked directly to your Microsoft Account email |
| Redemption Process | Must be entered once at office.com/setup | Automatic upon logging into the software |
| Reinstallation Method | Key is no longer needed; use your account | Always handled via the Microsoft Account dashboard |
| Best Use Case | Purchasing from third-party retail stores | Buying direct from MS Store or pre-installed on new PCs |
| Transferability | Can be given as a gift before redemption | Non-transferable once linked to an account |
ospp.vbs /dstatus script to identify and remove the old license tokens, as detailed in the troubleshooting section above.Successfully navigating Microsoft Office activation requires understanding that the product key is merely a temporary bridge between your wallet and your Microsoft Account. Once you grasp the concept of Digital Entitlements and know how to clear out conflicting background licenses, you can resolve almost any activation error that comes your way.
Keep these critical takeaways in mind when managing your Office licenses:
office.com/setup before attempting to download or open any applications.ospp.vbs /unpkey command line script to strip out conflicting ghost licenses..plist files on macOS.