How to Fix Apple Two-Factor Authentication Problems and Sign In Successfully
Apple's two-factor authentication system is designed to keep unauthorized users out of your account, but it can occasionally lock out the legitimate owner. Whether you are stuck in a verification loop, failing to receive SMS codes, or struggling to sign in on legacy hardware, navigating an Apple ID lockout is a highly stressful experience.
As of 2026, Apple has deeply integrated 2FA into the core of its operating systems. It is no longer an optional security layer; it is a mandatory requirement for essential features like Apple Pay, iMessage synchronization, and Advanced Data Protection. Because the system is so deeply embedded, troubleshooting requires a specific understanding of how Apple routes its verification tokens across trusted devices and cellular networks.
This comprehensive guide addresses the most common and complex two-factor authentication Apple problems, providing evidence-based solutions to bypass legacy errors, resolve token conflicts, and successfully recover your account.
Why Am I Having Problems with Apple Two-Factor Authentication?
To effectively troubleshoot a 2FA problem, it is helpful to understand how Apple's security architecture operates. Unlike basic security systems that rely solely on SMS text messages, Apple utilizes a "Trusted Device" model. When you attempt to sign in on a new device or browser, Apple’s servers send an encrypted push notification to all hardware currently signed into your Apple ID.
Problems typically arise in three distinct categories:
- Delivery Failures: The code is generated by Apple's servers but fails to reach your device due to network issues, incorrect time synchronization, or SIM card changes.
- Hardware Incompatibility: You are attempting to sign in on older Apple hardware (released before 2016) that does not feature the modern user interface required to display a separate six-digit code entry box.
- Account Lockouts: You have lost access to your only trusted device and your trusted phone number, leaving you with no immediate way to verify your identity.
It is important to note that for the vast majority of users, two-factor authentication is a permanent account fixture. According to Official Apple Support documentation, if you created your Apple ID in recent years, or if you enabled 2FA more than two weeks ago, the feature cannot be disabled. Certain features, such as end-to-end encrypted iCloud data, require 2FA to function securely.
Before proceeding with complex troubleshooting, perform an immediate baseline check: ensure the device you are trying to receive the code on has an active internet connection (Wi-Fi or cellular data) and is not in Airplane Mode. If the network is stable and the problem persists, move on to the specific fixes below.
What to Do When Your Apple Verification Code Is Not Received
The most frequent complaint regarding Apple 2FA is the failure to receive the six-digit verification code. Users often wait for an SMS text message that never arrives. This happens because Apple prioritizes sending codes via a system-level pop-up to your existing Apple devices before it resorts to standard SMS.
If the pop-up does not appear on your iPhone, iPad, or Mac, you do not have to wait for the system to time out. You can force the issue using two highly effective methods.
How to Manually Generate a Code Offline
Many users are unaware that a trusted Apple device can generate a verification code locally, even if it has no Wi-Fi or cellular service. The code is generated using a time-based algorithm stored securely on the device.
To generate an offline code on an iPhone or iPad:
- Open the Settings app.
- Tap your name (Apple ID banner) at the top of the screen.
- Select Sign-In & Security.
- Scroll down and tap Get Verification Code.
A six-digit code will instantly appear on the screen. You can type this code into the device you are attempting to sign into. This method is widely regarded as one of the most reliable ways to bypass network-related delivery failures, as noted in Apple Support Community discussions.
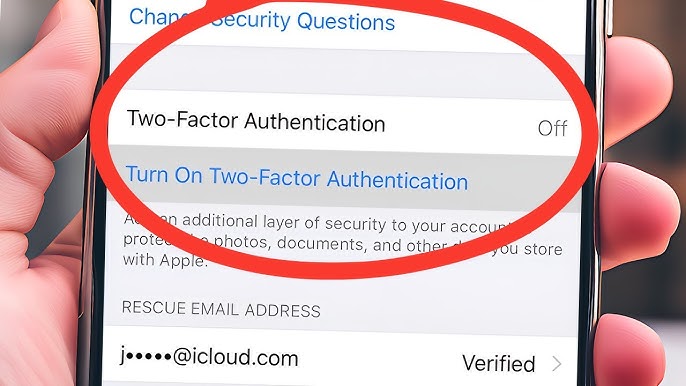
Image source: YouTube
The Time-Sync Fix for Rejected Codes
If you are receiving codes but the system repeatedly rejects them as "incorrect," you are likely experiencing a Time-Based One-Time Password (TOTP) desynchronization. Apple's 2FA codes are tied to the exact current time. If the internal clock on your device is off by even 60 seconds, the code generated will not match the code expected by Apple's servers.
To fix this synchronization issue:
- Go to Settings > General > Date & Time.
- Ensure the toggle for Set Automatically is turned ON.
- If it is already on, toggle it off, wait ten seconds, and toggle it back on to force a sync with Apple's time servers.
How to Sign In on Older Apple TV and Legacy Mac Devices
A highly frustrating edge case occurs when users attempt to sign into older Apple hardware. Devices running iOS 9, OS X El Capitan, or the Apple TV 2nd and 3rd Generation were manufactured before Apple's modern 2FA system was standardized. Consequently, their operating systems lack the user interface to display a separate entry box for the six-digit code.
When you attempt to sign in, the device will simply reject your password and tell you that an Apple ID verification code is required, but it gives you nowhere to type it.
The "Password Append" Workaround
To resolve this, you must use a specific string format that combines your password and the verification code into a single text entry. This method is frequently highlighted in accessibility and legacy hardware forums as the only viable solution.
Follow these exact steps:
- Enter your Apple ID email address on the legacy device.
- Type your standard password into the password field, but do not press enter yet.
- Pick up your modern trusted device (like your iPhone) and manually generate a verification code using the Settings method described in the previous section.
- Immediately type that six-digit code directly at the end of your password on the legacy device, with no spaces.
For example, if your password is AppleSecure123! and the verification code generated is 456789, you will type AppleSecure123!456789 into the password field and submit it. Apple's authentication servers are programmed to recognize the appended code and will grant access to the legacy device.
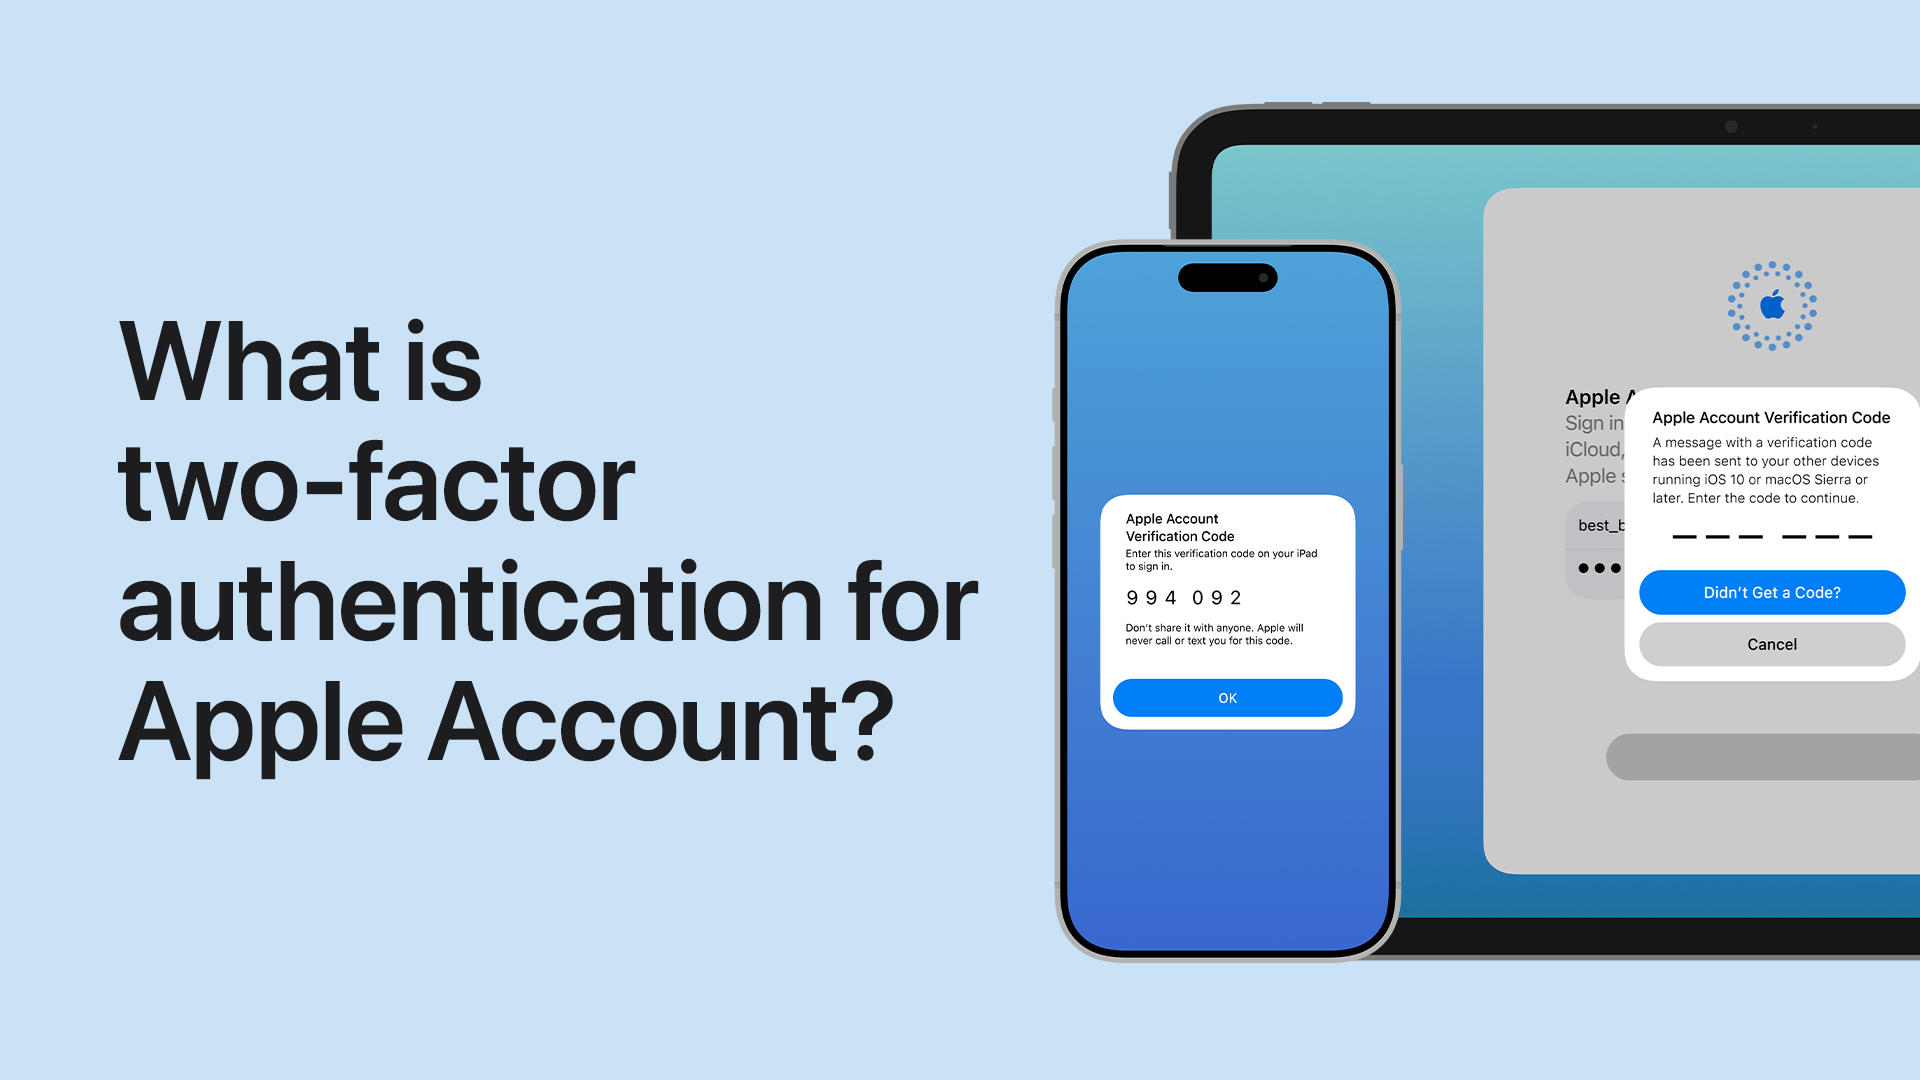
Image source: Apple Support
How to Fix the Unknown Error Occurred Message During 2FA
One of the most cryptic problems users face is the "An unknown error has occurred" message. This typically happens immediately after entering a valid six-digit code. The code is accepted, the loading spinner appears, and then the process fails with the generic error text.
According to Apple Support Community threads, this error is rarely a problem with the code itself. Instead, it usually indicates a server-side token conflict or a session timeout, frequently occurring when setting up third-party applications (like Apple Music on Windows) or when a phone number is linked to multiple Apple IDs.
The "iCloud Prime" Strategy
A highly effective community workaround for the "Unknown Error" loop is to authenticate your session via a web browser first, which establishes a trusted token with Apple's servers before you attempt to log into the problematic app or device.
- Open Safari, Chrome, or Edge on a computer or tablet.
- Navigate to
icloud.comand sign in with your Apple ID and password. - Complete the 2FA prompt in the web browser.
- Once you are successfully logged into the iCloud dashboard, leave the browser tab open.
- Return to the device or application that was giving you the "Unknown Error" and attempt to sign in again.
By "priming" the authentication token in the browser, the secondary application often bypasses the conflict and signs in smoothly. This method is frequently cited as a reliable fix on Reddit troubleshooting threads.
Developer and Third-Party App Fixes
If you are a developer or a user trying to connect a non-Apple application to your iCloud account (such as a third-party calendar app or an email client), native 2FA prompts will often fail. In these instances, you must generate an App-Specific Password. As detailed in developer resources, app-specific passwords allow third-party tools to securely access your account without triggering the standard 2FA pop-up loop.
What to Do if You Are Stuck in a Trusted Device Loop
A "Trusted Device Loop" occurs when you are trying to sign into your only Apple device (for example, after performing a factory reset), and Apple sends the required 2FA code to that exact same device, which you cannot access because you are locked on the setup screen.
To break this loop, you must rely on your Trusted Phone Number rather than the Trusted Device push notification.
- On the setup screen asking for the code, tap the "Didn't get a code?" option.
- Select the option to send a text message or a phone call to your trusted number.
- If the SIM card associated with that trusted number is currently inside the device you are setting up, the SMS will arrive in the background. In modern iOS versions, the system will automatically detect the incoming SMS and autofill the code, bypassing the loop.
If you are dealing with account recovery, it is crucial to understand which security system your account is actually using, as the recovery steps differ significantly.
Introduced: 2015 (iOS 9 / OS X El Capitan)
Primary Method: Push notifications to Trusted Devices (six-digit codes).
Backup Method: SMS or voice call to a Trusted Phone Number.
Recovery: Automated Account Recovery process via iforgot.apple.com. No manual recovery key is required unless explicitly enabled by the user.
Introduced: 2013
Primary Method: SMS text messages only (four-digit codes).
Backup Method: A mandatory 14-character Recovery Key provided during setup.
Recovery: If you lose your phone and your Recovery Key, you are permanently locked out. Apple Support cannot recover these accounts.
How to Manage 2FA While Traveling or Changing Phone Numbers
International travel is a common trigger for Apple ID lockouts. The "International Traveler Trap" occurs when a user travels abroad, removes their primary SIM card to install a local prepaid SIM, and then attempts to log into an Apple service. Because the original SIM is removed, the user cannot receive SMS codes sent to their "Trusted Phone Number."
If they also do not have a secondary Apple device connected to Wi-Fi, they are completely locked out of their account until they return home.
The Pre-Travel Security Checklist
To prevent this scenario, Apple Support strongly recommends adding redundancy to your account before you travel or change cellular providers. According to Apple's advanced security guidelines, having at least two trusted numbers on file is a critical best practice.
- Add a Secondary Trusted Number: Go to Settings > [Your Name] > Sign-In & Security. Add the phone number of a trusted spouse, family member, or a VoIP number (like Google Voice) that you can access via Wi-Fi.
- Set Up a Recovery Contact: Introduced in recent iOS versions, a Recovery Contact is a trusted friend or family member who uses an Apple device. If you are locked out, they can generate a code on their device to help you regain access, without needing your phone number.
- Generate an Account Recovery Key: If you are highly technical, you can generate a 28-character Recovery Key. Note: Doing this disables automated account recovery. If you lose the key, Apple cannot help you.
Why Can't I Turn Off Two-Factor Authentication Anymore?
A frequent search query from frustrated users is how to turn off Apple's two-factor authentication entirely. In the early days of the feature, users could toggle it on and off at will via the Apple ID website. This is no longer the case.
As confirmed by numerous Apple Community experts, Apple enforces a strict "Two-Week Rule." When you enroll in 2FA, Apple sends a confirmation email to your primary address. This email contains a link to unenroll, but the link expires exactly 14 days after enrollment.
Once the 14-day window closes, 2FA becomes a permanent, non-removable part of your account architecture. Apple enforces this because modern ecosystem features rely on the cryptographic security that 2FA provides. If you were able to turn it off, features like Apple Card, Apple Cash, HomeKit secure video, and Advanced Data Protection would immediately break.
If you find the constant code prompts intrusive, an alternative is to set up Security Keys. By linking FIDO-certified physical security keys (like a YubiKey) to your Apple ID, you replace the six-digit code system with a physical hardware requirement. You simply tap the key to your device to authenticate, which many users find less frustrating than managing SMS codes.
The Last Resort: How Apple Account Recovery Works
If you have exhausted all troubleshooting steps—you have no trusted devices, you cannot access your trusted phone number, and you do not have a Recovery Contact—your final option is Apple's automated Account Recovery process.
Account Recovery is designed to get you back into your account while denying access to potential hackers. Because Apple prioritizes security over speed, this process is notoriously slow. It is an automated system; Apple Support representatives cannot expedite it, bypass it, or manually verify your identity over the phone.
The Account Recovery Timeline
Navigate to iforgot.apple.com on any web browser. Enter your Apple ID and follow the prompts. When asked for a code, select "Don't have access to any of your Apple devices or your phone number."
Once initiated, your account enters an evaluation period (typically 24 to 72 hours). During this time, Apple's automated systems monitor the account to ensure no legitimate devices are actively using it, which helps prevent fraudulent takeover attempts.
After the evaluation, Apple will send an email or SMS to the contact method you provided during Step 1. This message will state exactly how long you must wait before the account is released. This waiting period can range from a few days to several weeks, depending on the security data available.
Once the timer expires, you will receive a final text or email with instructions on how to reset your password, update your trusted phone number, and regain access to your Apple ecosystem.
Crucial Rule for Account Recovery: Do not attempt to use any device that is currently signed into the locked Apple ID during the waiting period. If Apple's servers detect activity from a device linked to the account, the system assumes you have regained access and will immediately cancel the recovery request, forcing you to start the multi-week process over from the beginning.
Frequently Asked Questions
Final Thoughts
Resolving an Apple two-factor authentication problem requires patience and an understanding of how Apple's security ecosystem prioritizes trusted devices over standard SMS. By identifying whether your issue stems from network delivery, legacy hardware, or a server conflict, you can apply the correct targeted fix rather than waiting endlessly for a text message.
- Check your clock: Ensure Date & Time is set to "Automatic" to prevent TOTP token rejection.
- Generate offline: Use the Settings app to manually create a code if network delivery fails.
- Combine passwords: On legacy devices, type your password and the 6-digit code together as one continuous string.
- Prime your session: Log into iCloud.com via a browser first to bypass "Unknown Error" loops in third-party apps.
- Build redundancy: Always keep at least two trusted phone numbers on your account to prevent travel lockouts.
- Respect the timer: If forced into Account Recovery, do not use your devices, or the waiting period will reset.